Additional connectors
In the earlier blog posts in this series, we discussed how to set up the Identity & Access Management (IAM) solution HelloID. Once the foundation is in place, it is time to link the rest of your IT landscape to HelloID. In this blog post, you'll learn how to do this and what role connectors play in the process.
When setting up HelloID, you focus on installing agents, linking your HR system and configuring your primary identity provider such as Azure Directory (AD) or Azure AD, which come standard or built-in with HelloID. In previous blog posts, we also covered various configurations you can make, including correlations, thresholds and notifications. Together these components form the foundation of HelloID.
Now that the foundation of your HelloID implementation is in place, you can start with the next important step in deploying the IAM solution: linking the rest of your IT landscape. However, your organisation might not use Microsoft (Azure) Active Directory, but Google Workspace instead. In both cases, connectors play a crucial role; with connectors, you easily establish connections between HelloID and other parts of your IT infrastructure.
Prioritising connections
Before you begin configuring a new connector link, it is best to first answer a number of questions to determine the correct order of execution. This includes identifying the applications that have the largest management burden and the most significant impact on security and compliance. Then map out the number of users for these specific applications. Conduct this analysis accurately, so you know which applications are used the most. After all, this also influences the impact that the availability of the application has on the business.
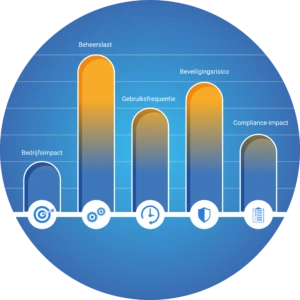
In addition, do not forget to identify security risks associated with specific applications. Various factors influence this. For instance, applications in which you work with sensitive personal data or business data automatically carry a higher security risk. It is then important that you manage these applications accurately and without errors. By using HelloID and the available connectors, you receive support in this process.
Choosing the right connector
Linking applications to HelloID is not complex. The availability of a wide range of connectors streamlines this process. There are more than 200 connectors available, of which you can find an overview here. We are continuously working on functionally documenting and developing new connectors, so keep an eye on this page for updates. If you click on one of the already described connectors, you will get a comprehensive functional description of the possibilities.
Finding the right connector is simple. For example, you can filter connectors in the overview by type (source or target), type of applications (such as HR, directory, mail, ECD, planning or finance) and sector (including healthcare, education and government). This gives you immediate insights into all the connectors that are relevant for your use case.
For each connector, technical documentation is available, including a step-by-step plan for configuration. This information can be consulted via our GitHub page, more on this later.
Configuring a connector
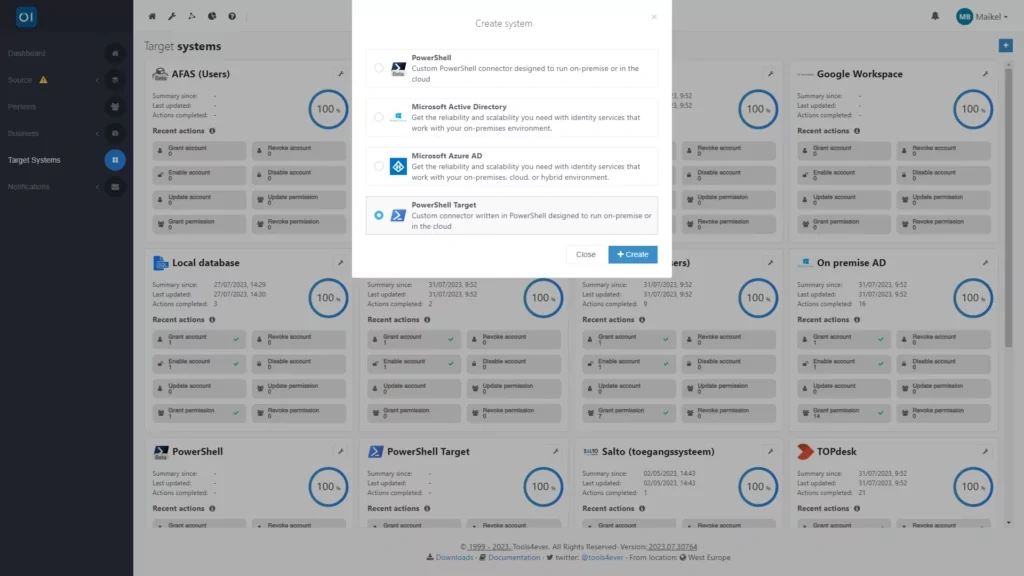
Installing a connector sometimes requires activating an API on the side of the application you want to link to HelloID. An example is the connector for Google Workspace, for which you first need to configure access to the Google API. Once you have configured this access, you can start installing the connector. Simply download the connector and, as an administrator, add a new PowerShell target system in the Provisioning dashboard of HelloID.
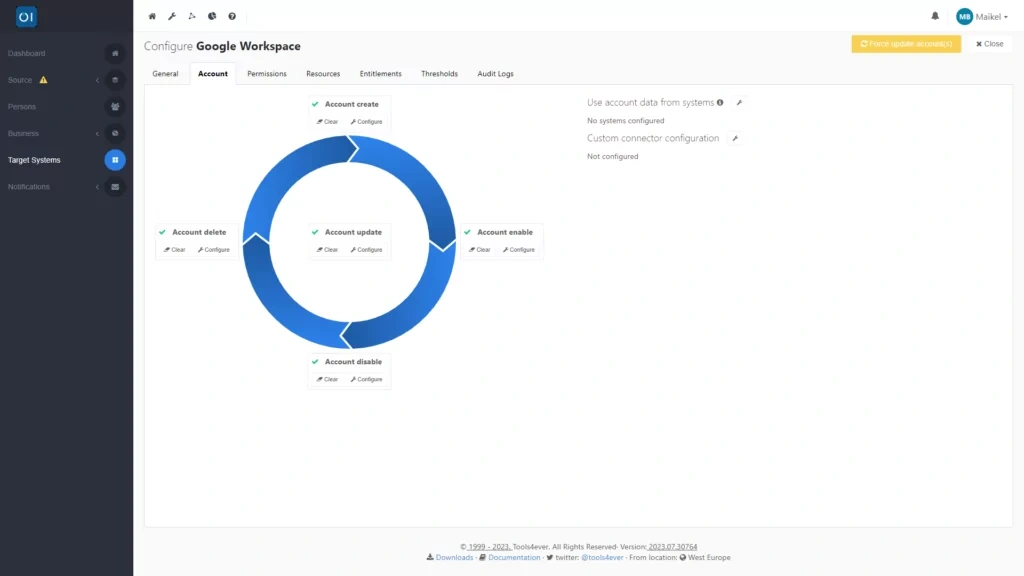
A connector supports all parts of the account lifecycle. This consists of five stages: create, delete, enable, disable and update. The assignment of authorisations is also part of this lifecycle. The possibilities that HelloID offers for a specific integration depend on the application with which you are linking. For each account lifecycle stage, you can add the corresponding script you downloaded. Then add the configuration.json to the custom connector configuration, and a new tab will appear.
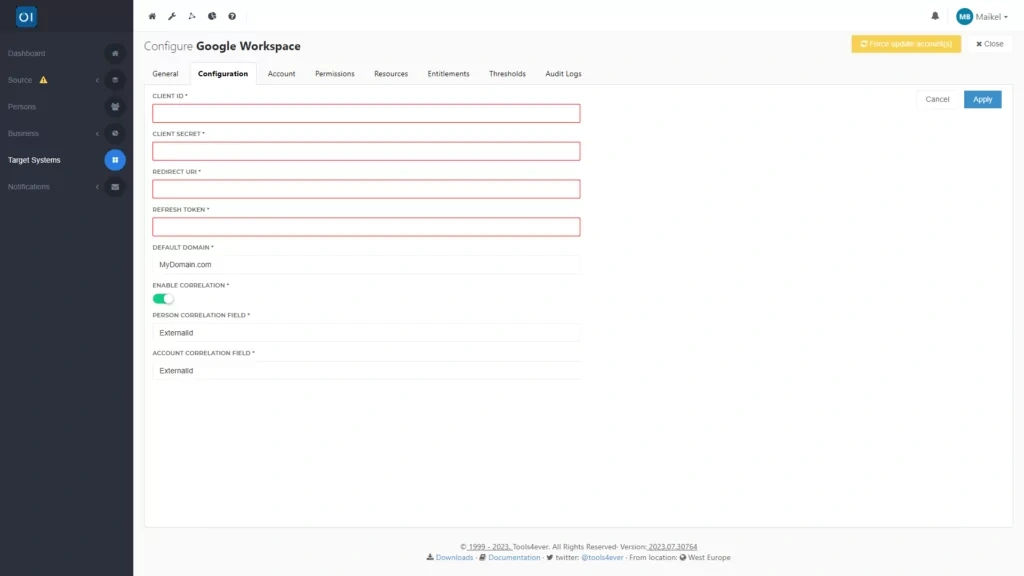
Once the connector is fully installed, you can start configuring the connector. You do this by providing the requested information, such as the Client ID, Client Secret and the refresh token. However, also consider correlating existing individuals and user accounts, specifying which values you want to use for this.
Finally, by applying the previously explained business rules, you can now fine-tune how HelloID manages accounts and authorisations. This is done under the entitlements tab, where the newly added system is available. Here, you'll specify the criteria based on personal and contract attributes to determine how HelloID processes and assigns various accounts and authorisations.
Always the right connector available
Thanks to the very broad range of more than 200 connectors, there is almost always a connector available for the application you want to link to HelloID. All the connectors we offer are available free of charge. You can download the connectors via our GitHub page. For each connector, you will also find an explanation of the configuration needed for the deployment of that specific connector.
Is there a connector you need but that we don't yet offer? Then you can submit a request via our support portal, and we will develop it, provided it is technically feasible, of course. If, after following our free HelloID training, you have gained enough experience and confidence in working with connectors, you can also choose to develop the linkage yourself, if you wish.
Getting started
Do you want to get started linking your IT landscape to HelloID? Then check out our overview of connectors and choose the right connector for your application. If you encounter any problems or have questions, please contact us!

Written by:
KaHo Man
KaHo, met 18 jaar ervaring in consultancy, is implementatie consultant in Identity & Access Management (IAM) bij Tools4ever. Met een solide basis in Hogere Informatica, is hij uitgegroeid tot een gerespecteerde mentor en trainer, die zijn kennis deelt met collega's en partners. KaHo's expertise strekt zich ook uit tot het geven van HelloID sales demo’s en technische intakes, uitvoeren van health checks, en het overzien van project reviews.
