Notifications and thresholds
As an Identity & Access Management (IAM) solution, HelloID plays a crucial role in your IT landscape. It is capable of automating various actions, but it is equally crucial to retain control and oversight of these processes. One of the key features we implement is thresholds, designed to ensure that any issues within your source system or its connections never result in HelloID mistakenly blocking or deleting all accounts. Additionally, if HelloID performs certain actions in your target systems, you will want to promptly inform the relevant parties. For this purpose, HelloID's notification system is invaluable. In this blog, we will dive deeper into the world of setting thresholds, issuing notifications and tailoring these alerts to your specific needs.
What are thresholds?
Thresholds are critical within HelloID. The automated actions HelloID performs save you time and streamline processes. However, there are also risks you will want to mitigate, as you do not want HelloID to accidentally or erroneously make changes to accounts or permissions. For example, if HelloID inadvertently removes all accounts from a target system, employees could be unable to access it, significantly impacting operations.
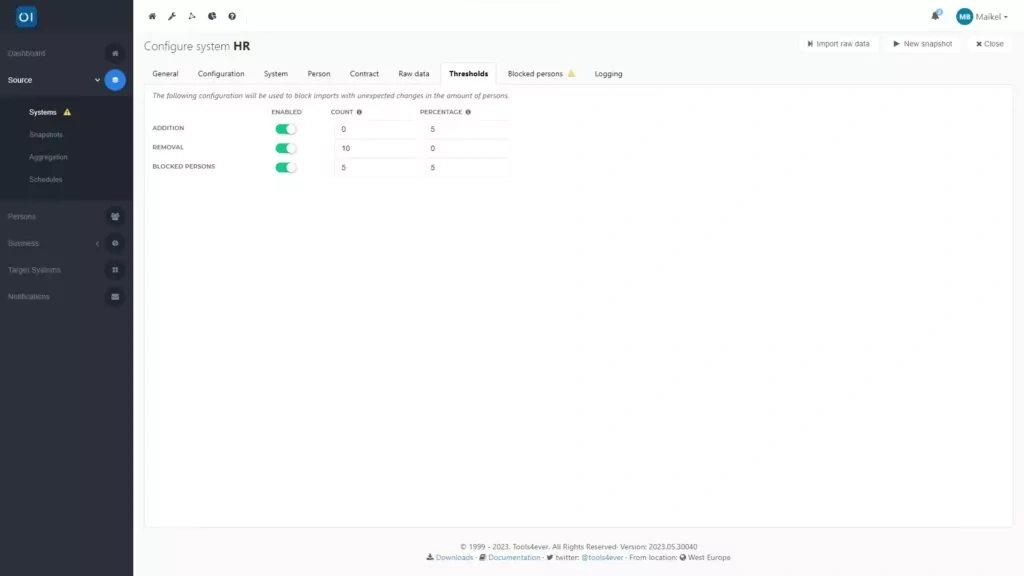
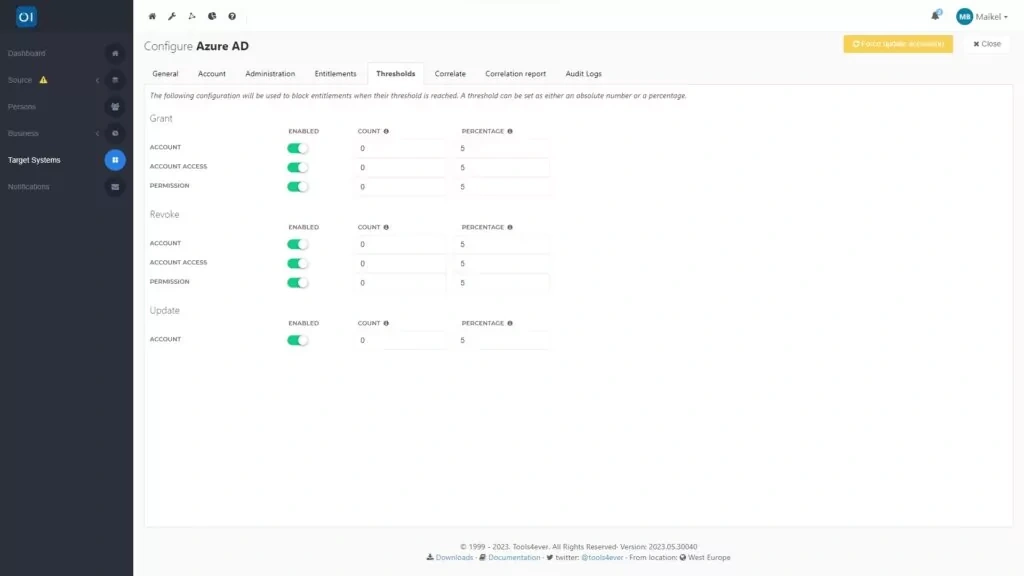
Thresholds help minimise these risks. Think of thresholds as a safety net that catches unintended actions. They ensure that the impact of any unforeseen errors in a connection or linked application remains manageable and limited. Setting up these thresholds is straightforward. You can do this by going to the 'Source' or 'Target Systems' section in HelloID's Provisioning dashboard and opening the 'Thresholds' tab. Then, you set the threshold values, which can be absolute numbers or percentages.
Thresholds for source systems
Within the source systems section, you can set thresholds to safeguard against incorrect imports of HR data. Imagine a scenario where your HR system is temporarily glitching, leading to HelloID only partially retrieving HR data. In such cases, comparing this incomplete data snapshot with the existing one might show a significant data mismatch. HelloID could then mistakenly assume that a large number of employees have left the company. Without the safety net of thresholds, HelloID might process this flawed snapshot, potentially leading to the IAM solution incorrectly blocking or deleting a large number of accounts. Another example could be an unannounced organisational change that causes unexpected departmental or role changes in the HR system. This could theoretically lead to many roles being revoked.
By setting thresholds, you can avert these issues. For example, you might specify that a new data snapshot should not vary by more than five percent from the previous one. If the variation exceeds this limit, HelloID refrains from carrying out its scheduled automated actions.
Thresholds for target systems
Similarly, you can also set thresholds for target systems. This becomes particularly important when you are tweaking a business rule and want to ensure it produces the intended outcome. The goal is to avoid situations where HelloID might mistakenly revoke user rights to a misconfigured business rule.
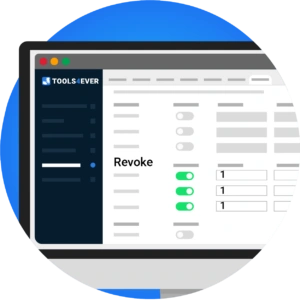
This is where thresholds come in handy. For instance, if you set all thresholds for 'Revoke' and 'Update' to 1 in the 'Count' section, you ensure that HelloID can only create new accounts but not modify or delete existing ones. This is also vital when you want to test business rules on one person without affecting other users.
If an action exceeds the established threshold for either source or target systems, HelloID will block this action and alert an administrator. The administrator can then review the blocked action(s) and, if desired, execute them with a simple click.
What can you send a notification for?
When HelloID blocks an action due to a threshold, it is essential to quickly inform the relevant parties. Unnoticed blocked actions could lead to issues being overlooked. Notifications serve as a vital tool to prevent this.
HelloID also enables notifications for a wider range of actions performed by the IAM solution. These actions range from creating, activating or updating an account, to deactivating or deleting one. Additionally, HelloID can issue notifications a few days prior to an employee's onboarding or offboarding. This ensures that the right people are informed in time about the joining or leaving of staff. Additionally, HelloID can send an email summary of completed evaluations.
Configuring notifications
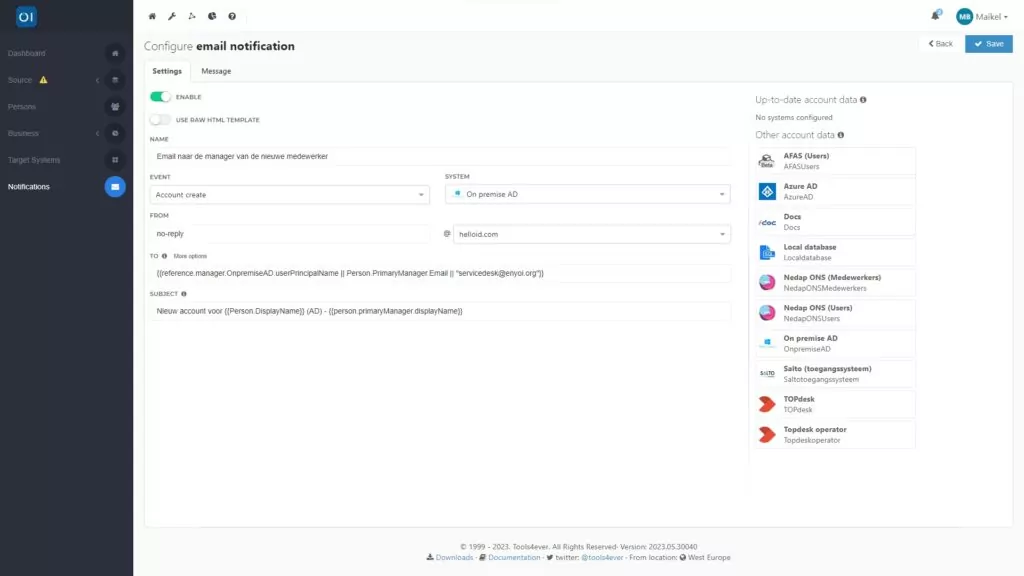
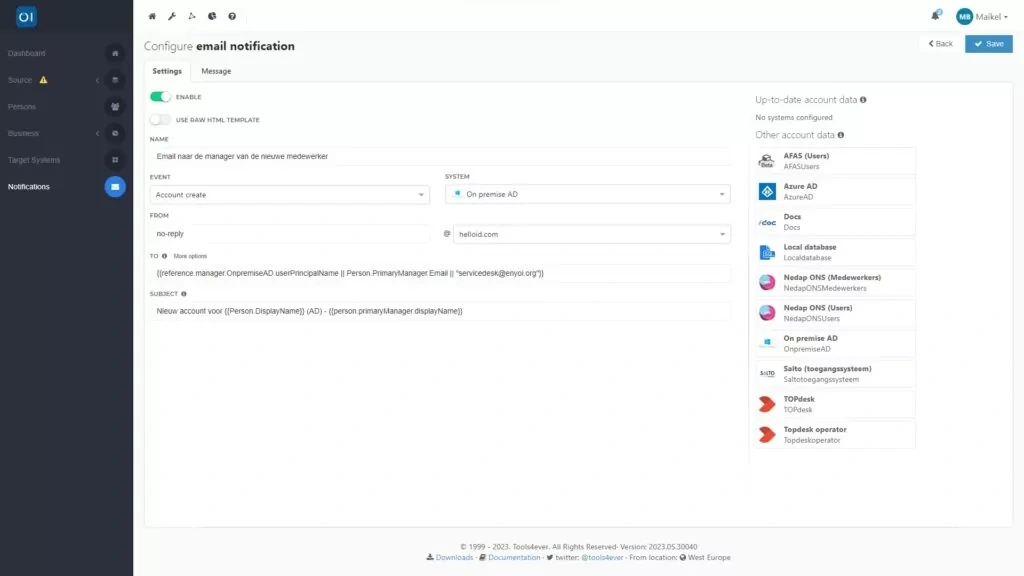
You can create and tailor notifications via the HelloID Provisioning dashboard. Head over to the Notifications tab to see all your current configured notifications. Adding a new notification is easy using the plus button, and you can tweak existing ones through the settings icon.
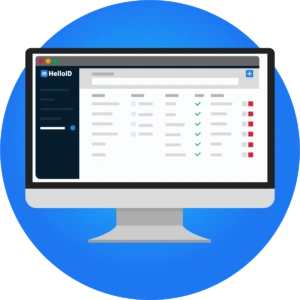
For composing notifications, you have two choices: use a user-friendly WYSIWYG editor or opt for raw HTML code. If you prefer HTML, you can select this option in the Settings tab. Here, you will also name your notification and choose the specific event in the target system that triggers it, such as the creation of an account. You also specify the target system associated with the notification.
Next, you can configure the email settings, such as the email address from which you want to send notifications. Also, consider the email address to which you want to send the notification, where you can use variables to load the correct email address. This applies to the subject line and account details from other systems too.
Working with variables in notifications
You can incorporate various variables in your notifications. These might include username, gender, date of birth, given name, first and last names, address details and email address. You can also include variables like the start and end dates of a contract or the department a user works in. These variables can be either person-specific or account-specific.
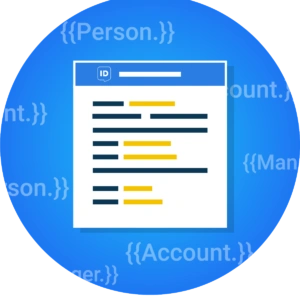
Using specific syntax, you can reference and integrate these variables into your notifications. For example, the syntax allows you to include a username in a notification, while can be used to integrate the start date of a contract.
The variables you can include in notifications depend on your target system and the configuration of your mappings. Our documentation offers a list of variable examples that you can use in your notifications, such as those available for use with Active Directory (AD).
Designing notifications
Once you have configured your notifications, you can start designing them. This blog assumes the use of a WYSIWYG editor for crafting your notifications. However, as mentioned, you also have the option to use raw HTML code.

The design process for a notification takes place on the 'Message' tab. Here, you can write the text you want to include in the notification using the editor, employing syntax to incorporate variables as needed. The editor also allows you to determine the notification's layout. This includes integrating elements like your brand's style and colours, as well as adding a logo.
The editor offers a wide range of possibilities. You can add columns, images and text fields, create links to social media, or even incorporate elements from social media platforms. The editor makes it quick and easy to craft a notification that meets your needs.
Getting started
Are you ready to start working with thresholds and notifications in HelloID? Check out our documentation for additional information and explanations. If you have any questions, please do not hesitate to contact us.

Written by:
KaHo Man
KaHo, met 18 jaar ervaring in consultancy, is implementatie consultant in Identity & Access Management (IAM) bij Tools4ever. Met een solide basis in Hogere Informatica, is hij uitgegroeid tot een gerespecteerde mentor en trainer, die zijn kennis deelt met collega's en partners. KaHo's expertise strekt zich ook uit tot het geven van HelloID sales demo’s en technische intakes, uitvoeren van health checks, en het overzien van project reviews.
